Finally! You’ve chosen your destination, you’ve done all your packing, and you’re ready to embark! You settle in with your yarn, pattern and other accoutrements. But wait, what size are you to make? Well, you think, I’m kind of medium, or I always wear a medium from J.Jill, or Talbot’s, or Target, or whatever, so I’ll make the middle size. You cast on! Or, the pattern gives you sizes in inches, and you wear a 36 bra, so you’ll make the 36″ size. You cast on! Or, that old stretched-out sweater you bought 15 years ago still has a tag that says Small, so you’ll make the small size. You cast on! All these scenarios can lead to that anguished feeling halfway through a project where you begin to suspect that this thing you’re making might fit your chihuahua or your pickup truck, but never you, not in a million years.
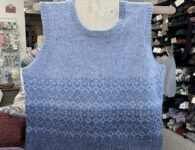
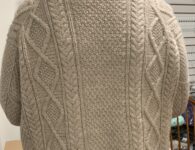
So if you are making something that needs to fit, put on appropriate clothing and underclothing, and measure around the biggest part of you that the project is going to cover. That’s your starting point. Check the pattern for guidance on the amount of ease you should build in. (Some designers include it and some don’t.) Ease is the distance between you and a garment. It varies with the style, the weight and fiber of your yarn, and your personal preference. A cardigan should comfortably accommodate something underneath it, while a pullover may not need much ease. A classic fit builds in about 5 – 10% ease – so if you measure 36″ you want your sweater to measure about 38 – 40″. If you prefer your clothing close-fitting, add no ease or even negative ease – so if you measure 36″ you could make a 34 – 36″ sweater to get a skin-tight fit. If the style is casual, or the yarn is bulky, or you just prefer a comfortable looseness in your clothing, add 15 – 20% ease – so if you measure 36″, you may want to make a 42″ – 44″ sweater. If you’re making a drop-shoulder style, significant ease in the body is necessary to prevent bunching in the armpits. Raglans can accommodate less ease, and set-in sleeves can be quite close-fitting and still comfortable.
Let’s talk about cast-ons for a moment. Sometimes the designer will specify a certain type of cast-on. There may be a good reason for it – you need an extra-stretchy cast-on, or you need a cast-on that looks the same from both sides, or you need a provisional cast-on so you can have live stitches there later on in the project. But sometimes it’s a quirk of the designer. And sometimes it’s just a fad. A few years ago, it was hot in the knitting design world to have tubular cast-ons and bind-offs on everything. Look! It’s stretchy! Look! It looks like ribbing instead of a cast-on! Never mind that it took 4 rows of knitting to achieve it and looked a little flabby and didn’t hold up as well as a regular old long tail cast-on. It was cool! So be aware that, while it’s good to try new things and learn about them and know what they are and are not good for, once you know, you get to decide. As the late, great Elizabeth Zimmerman said, you are the boss of your own knitting.
Does this all seem like too much trouble? Swatching? Sizing? Ease? I just want to knit! There are lots of projects where all these technicalities don’t matter so much. Make a throw, make a hat (it will fit someone!), make a scarf, make a cowl. They’re all fun and beautiful destinations, and don’t we all love a spur-of-the-moment trip where we can just jump in the car and go? So jump in!
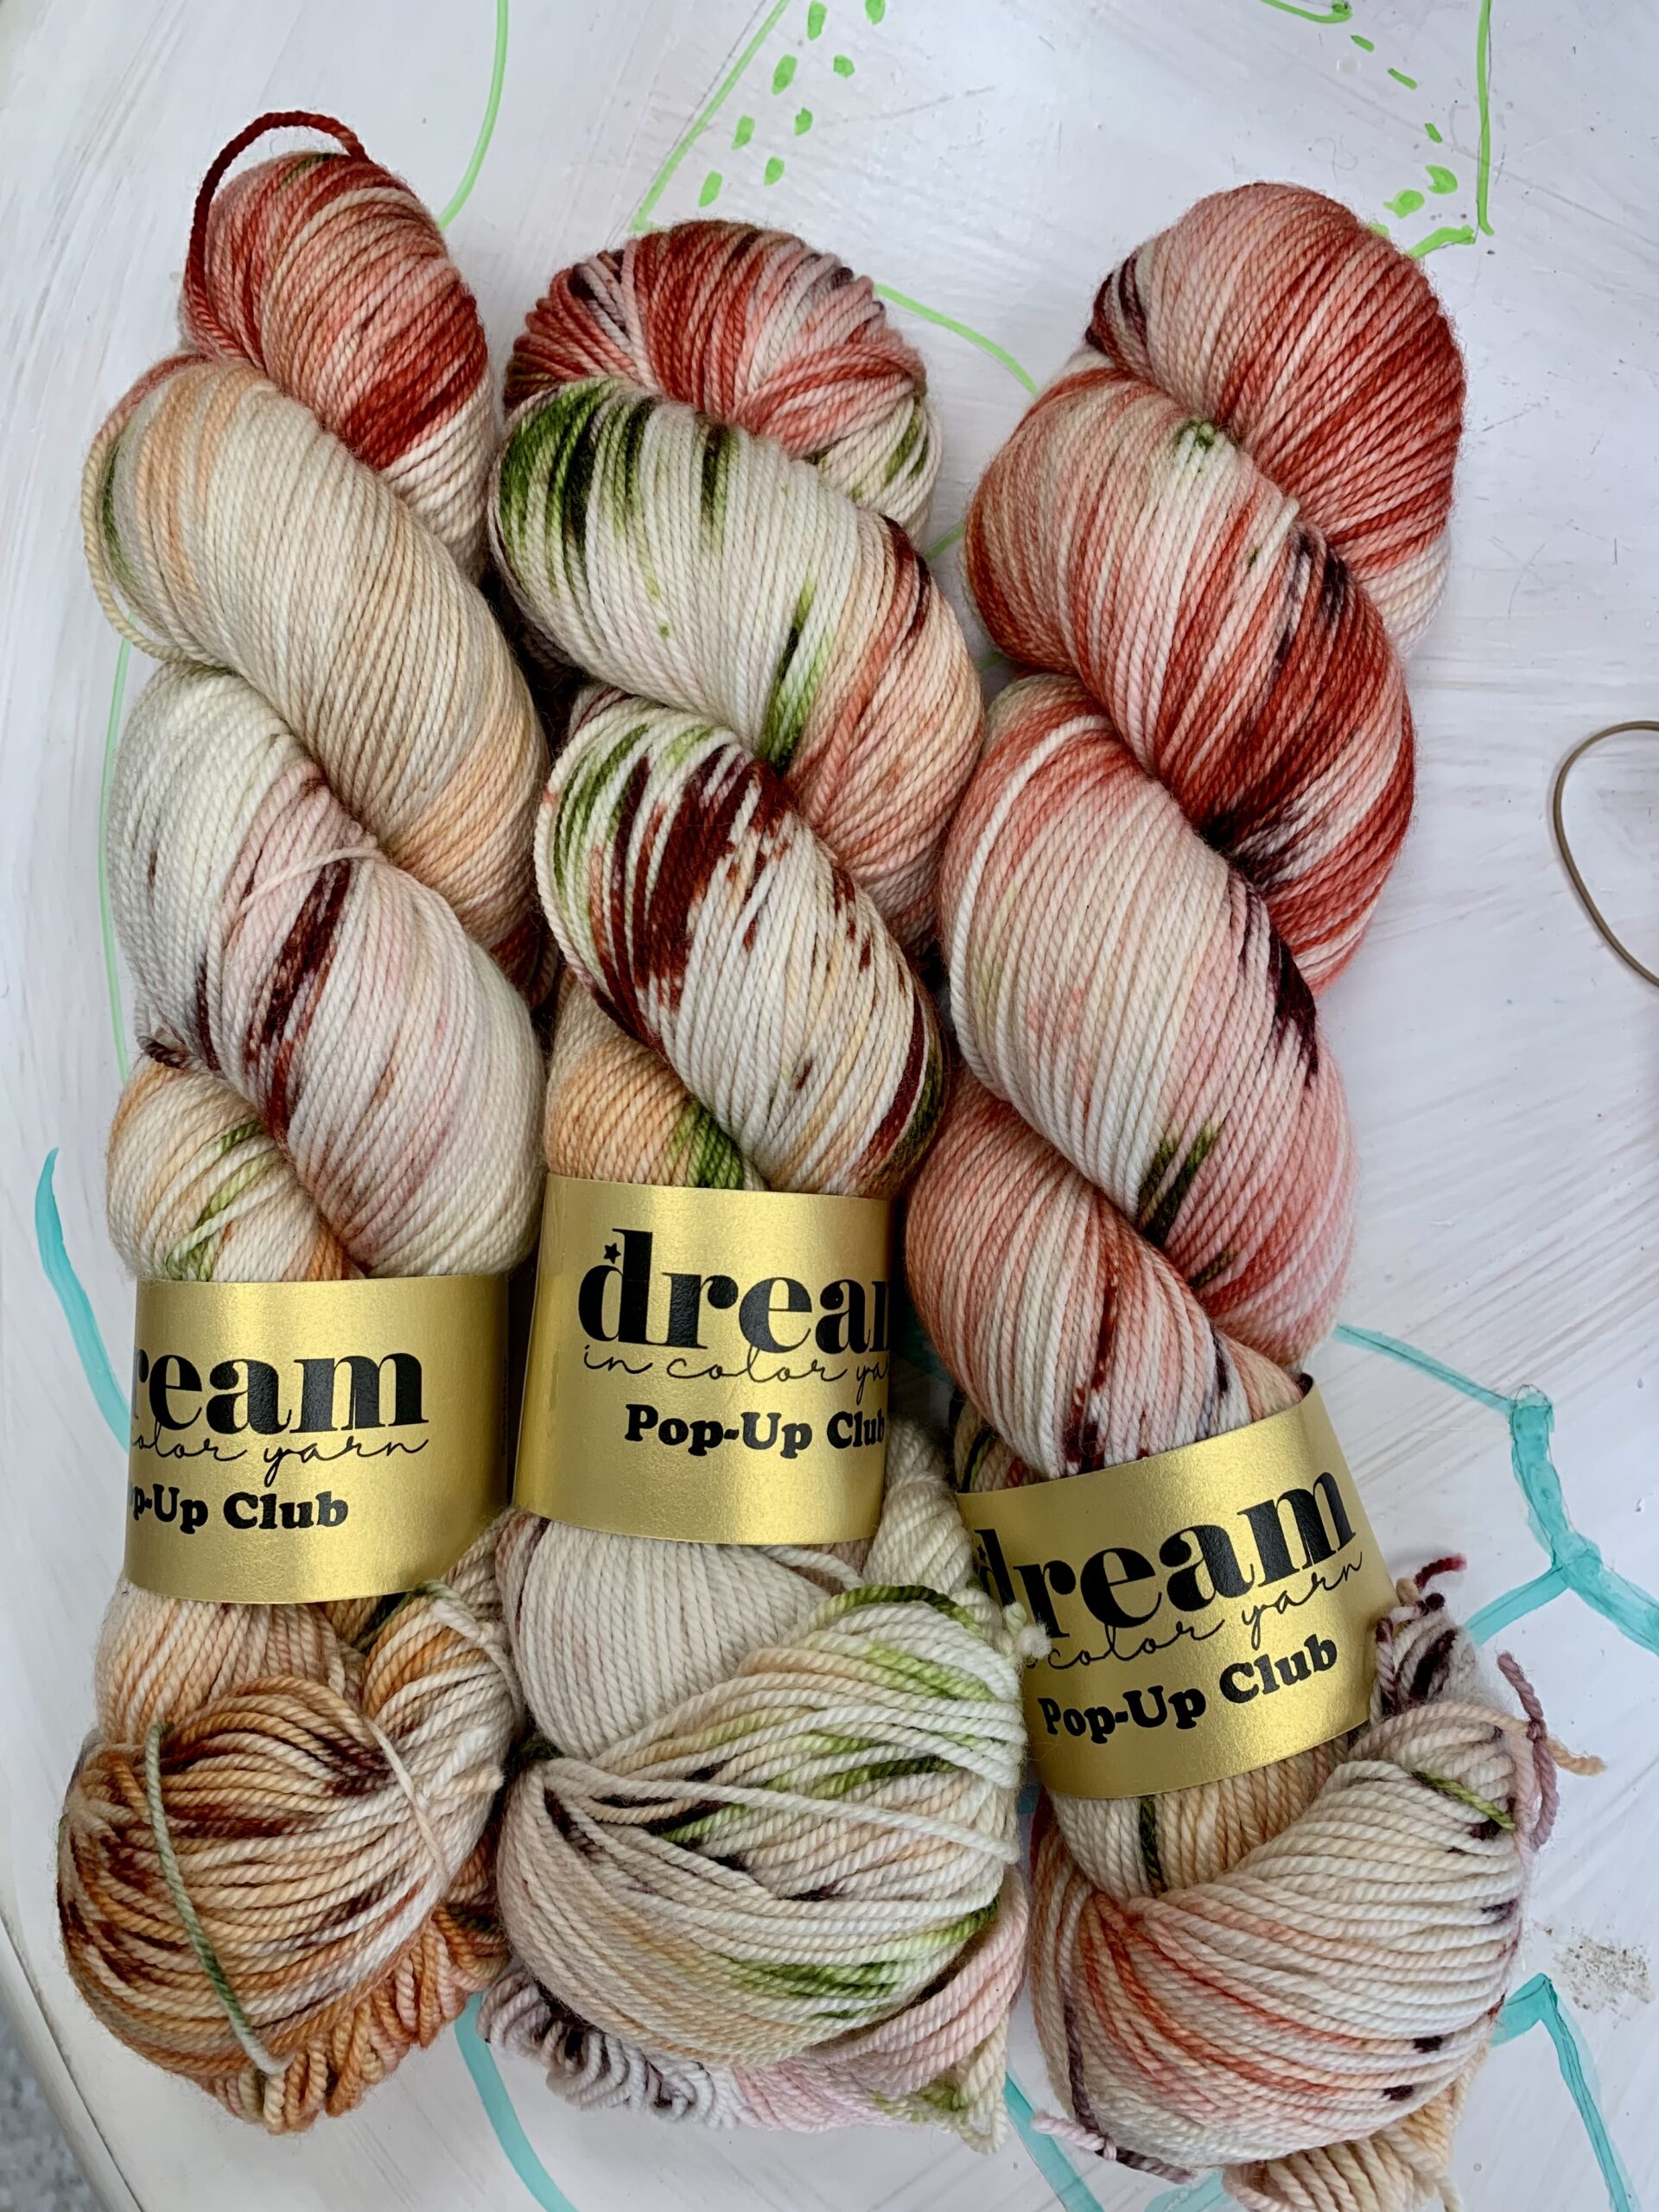
Here’s a jump right in project and a one-ball quick gift. This little neck warmer adds a layer of coziness and color and features a simple stitch and a free pattern. It’s fun to make and an inexpensive way to entertain yourself for an evening or two, watching the colors play out as you go.

Next time: Problems and Detours


